 P.O. Box 542 Westminster, MD 21158 rorrcanine@gmail.com rorrfeline@gmail.com P.O. Box 542 Westminster, MD 21158 rorrcanine@gmail.com rorrfeline@gmail.comDonations are accepted: Paypal - rorrdonations@gmail.com Venmo: @RORR-RORR (1368) Zelle: rorrdonations@gmail.com Reach Out Rescue P.O. Box 542 Westminster, MD 21158 |
|
Photography 101: Tips and Tricks for Taking Those All Important Dog Pictures! by Mary Brown Haak |
|
As I write this article, there are 360,974 adoptable pets listed on Petfinder. And what is the first thing someone sees when he or she is searching for a pet? A page of 25 dogs with the dog’s name, sex, general age (puppy, young, adult, senior), breed(s), location & sponsoring organization, and a small (very small!) picture. On my laptop monitor, the pictures are less than a square inch. The only way we have our dogs stand out from the crowd is to take great pictures of them. Please read through the page, and at the end, there will be links to example Photo Sessions! Let the Dog Get Used to the Camera. We all know how difficult it can be to get a good photo of a dog…especially some of our fosters who are so excited to have ***gasp*** real human beings paying attention to them! I find that the first day in a new home is usually a total loss for photography. But I do try to get the dog used to the idea. I bring out the camera, turn it on, and get down on the floor with the dog. Usually dogs need to sniff the camera so I leave the lens cap on until I’m ready to take pictures. Once they wander away, I start snapping pictures. This will usually bring him or her running back, but that’s fine. These are almost always throw-away pictures anyway. The second day we are ready to get to work. If At All Possible, Use Natural Light.
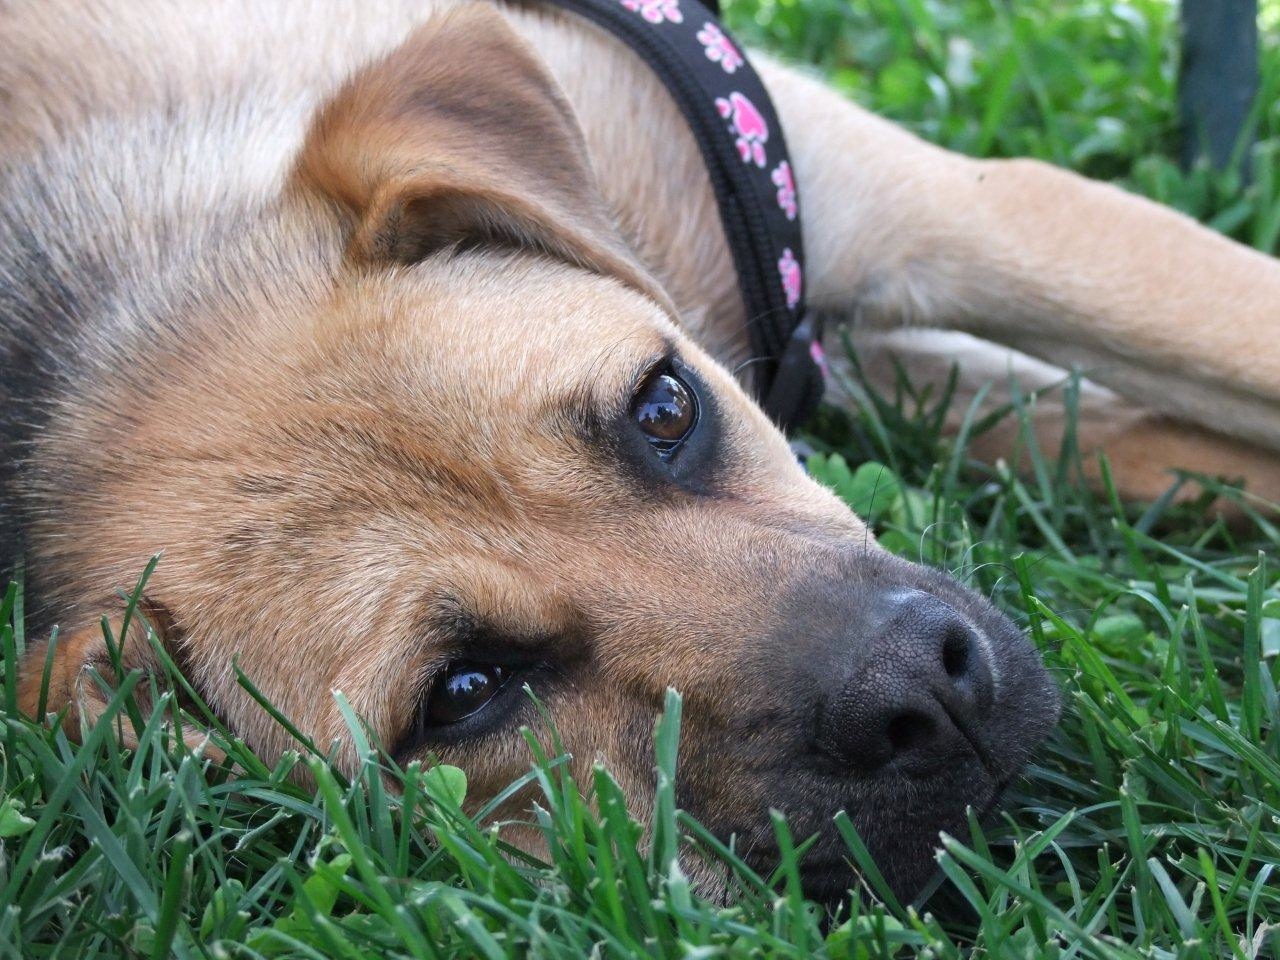
Pay Attention to Your Background. While your dog in a garden in full bloom can make for a beautiful photo, it can take the attention away from I try to keep people (and their feet, legs, and hands) out of the picture. When I look at photos of dogs I might adopt, the only person I want in a picture of my new dog is me! If you need an assistant to keep the dog under control, have him or her stand as far to the side of the dog as possible and hold the leash directly over the dog’s head with their arm fully extended. That way the photo can be cropped to remove any stray people parts. If Taking Photos of Your Foster Dog. Okay, we’ve got good light, we’ve selected an appropriate background and now we’re ready to start taking pictures. And our foster puppy is scratching, sniffing, and doing everything but looking at the camera! Calling him doesn’t work because he’s ADHD or doesn’t know his name or you are just too darn far away to be any fun. Squeaky toys are a great way to capture your dog’s attention. Meowing works too! Most important is to get down on your dog’s level to shoot your photos. This may mean sitting or even laying down. You may want to use the telephoto on your camera if he or she is straining to get at you. The closer you can get, the better though especially with dark or white dogs. I find I occasionally have to shoot pictures with the camera below eye level and sometimes even at chest level with new dogs. Dogs like to be able to see your face. I end up tossing a lot of pictures, but the good ones are worth the effort.
Sending Pictures of Your Dog. We ask that you send the photos in the original full size (unedited) for either the ZenFolio Gallery or website posting. The larger size allows us to make more adjustments to pretty them up. It is best to keep your email size no larger than 12MB, so if you have large photo files, you may need to send them in multiple emails. Please send photos to rorrwebmaster@gmail.com. I generally take about 40-50 pictures to get three that I really like. With a digital camera and a little time and patience, it’s a tiny price to pay to find your foster a great home! Good luck! |


 the dog. For adoption photos, I look for simple backgrounds. Trees or shrubs, especially evergreens make a great background. A building, wall, solid fence, open field or lawn can be good too. I try to stay away from chain link fences. And please never take an adoption picture of the dog through a chain link fence! Pay close attention to what’s in the background of your photo. Pick up any trash, doggy doo, and other objects from the immediate area. Keep in mind the color of your dog while selecting a background. A white dog photographed in a snow-covered field just isn’t going to work very well. A brick wall or evergreen will make a much better choice. Black or other dark colored dogs look good against bright green backgrounds, brick walls, light colored wooden fences, or light colored walls.
 you are single and having problem getting the dog to sit still, two leashes attached to stationary objects some distance apart can help you limit the dog’s movement. Better yet, just have a lot of patience and your camera always close by and wait for your dog to be calm and sitting pretty or lying down and shoot fast! I prefer pictures without the dog leashed, but with brand new fosters around my house, that’s infrequent the first couple days until I know how he or she is going to behave. I don’t like pictures where the dog is straining against the leash or in a harness. Potential adopters may view the dog as out of control. So I usually wait until the dog are both comfortable before I get my best photos.
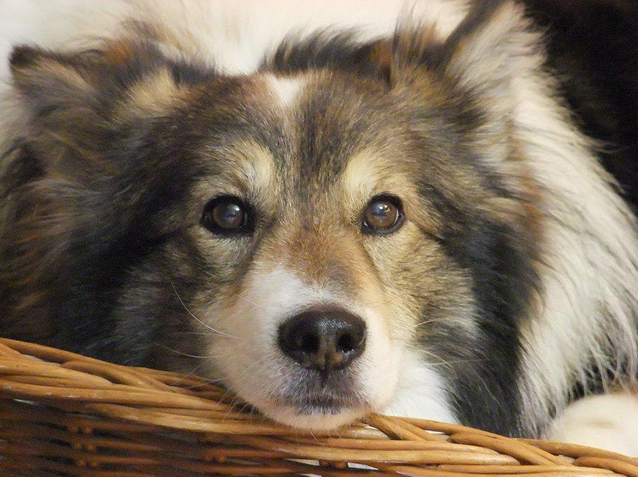
 When taking photos for adoption, think the “Glamour Shot” studio at the mall. You want one really great photo of the face of the dog either looking straight at the camera or just barely off to the side. The photo should be taken with the camera at the height of the dog’s head. The photo doesn’t have to just be of the face, but the face and especially the eyes need to be in focus so the photo can be cropped to just the head. This is the all important less than 1-inch square listing photo that is going to draw people in to look at your foster before the other 24 dogs on the webpage. You should try for a second photo of the whole dog from the side to show markings and proportion, but with the face turned toward you if possible. Again take your photos with the camera at the dog’s height. And if you can catch your foster doing something cute, this will make a great third photo. My little girl fosters have all been fascinated with the mirror in my bedroom so I’ve taken pictures of them looking at themselves. I don’t know who took the picture, but I love the one of Boomer looking out the doggy door on the adoption list. A photo of the foster playing with your own dog or sniffing at your cat can reassure potential adopters that he really IS good with other animals. Anything that captures the personality of the dog is great—smiling with his tongue hanging out, her giving you those sad puppy dog eyes because she really, really needs another treat, her sleeping with all four leg sticking straight up, or him walking around with his favorite toy in his mouth. Pay attention—your foster will show you!